

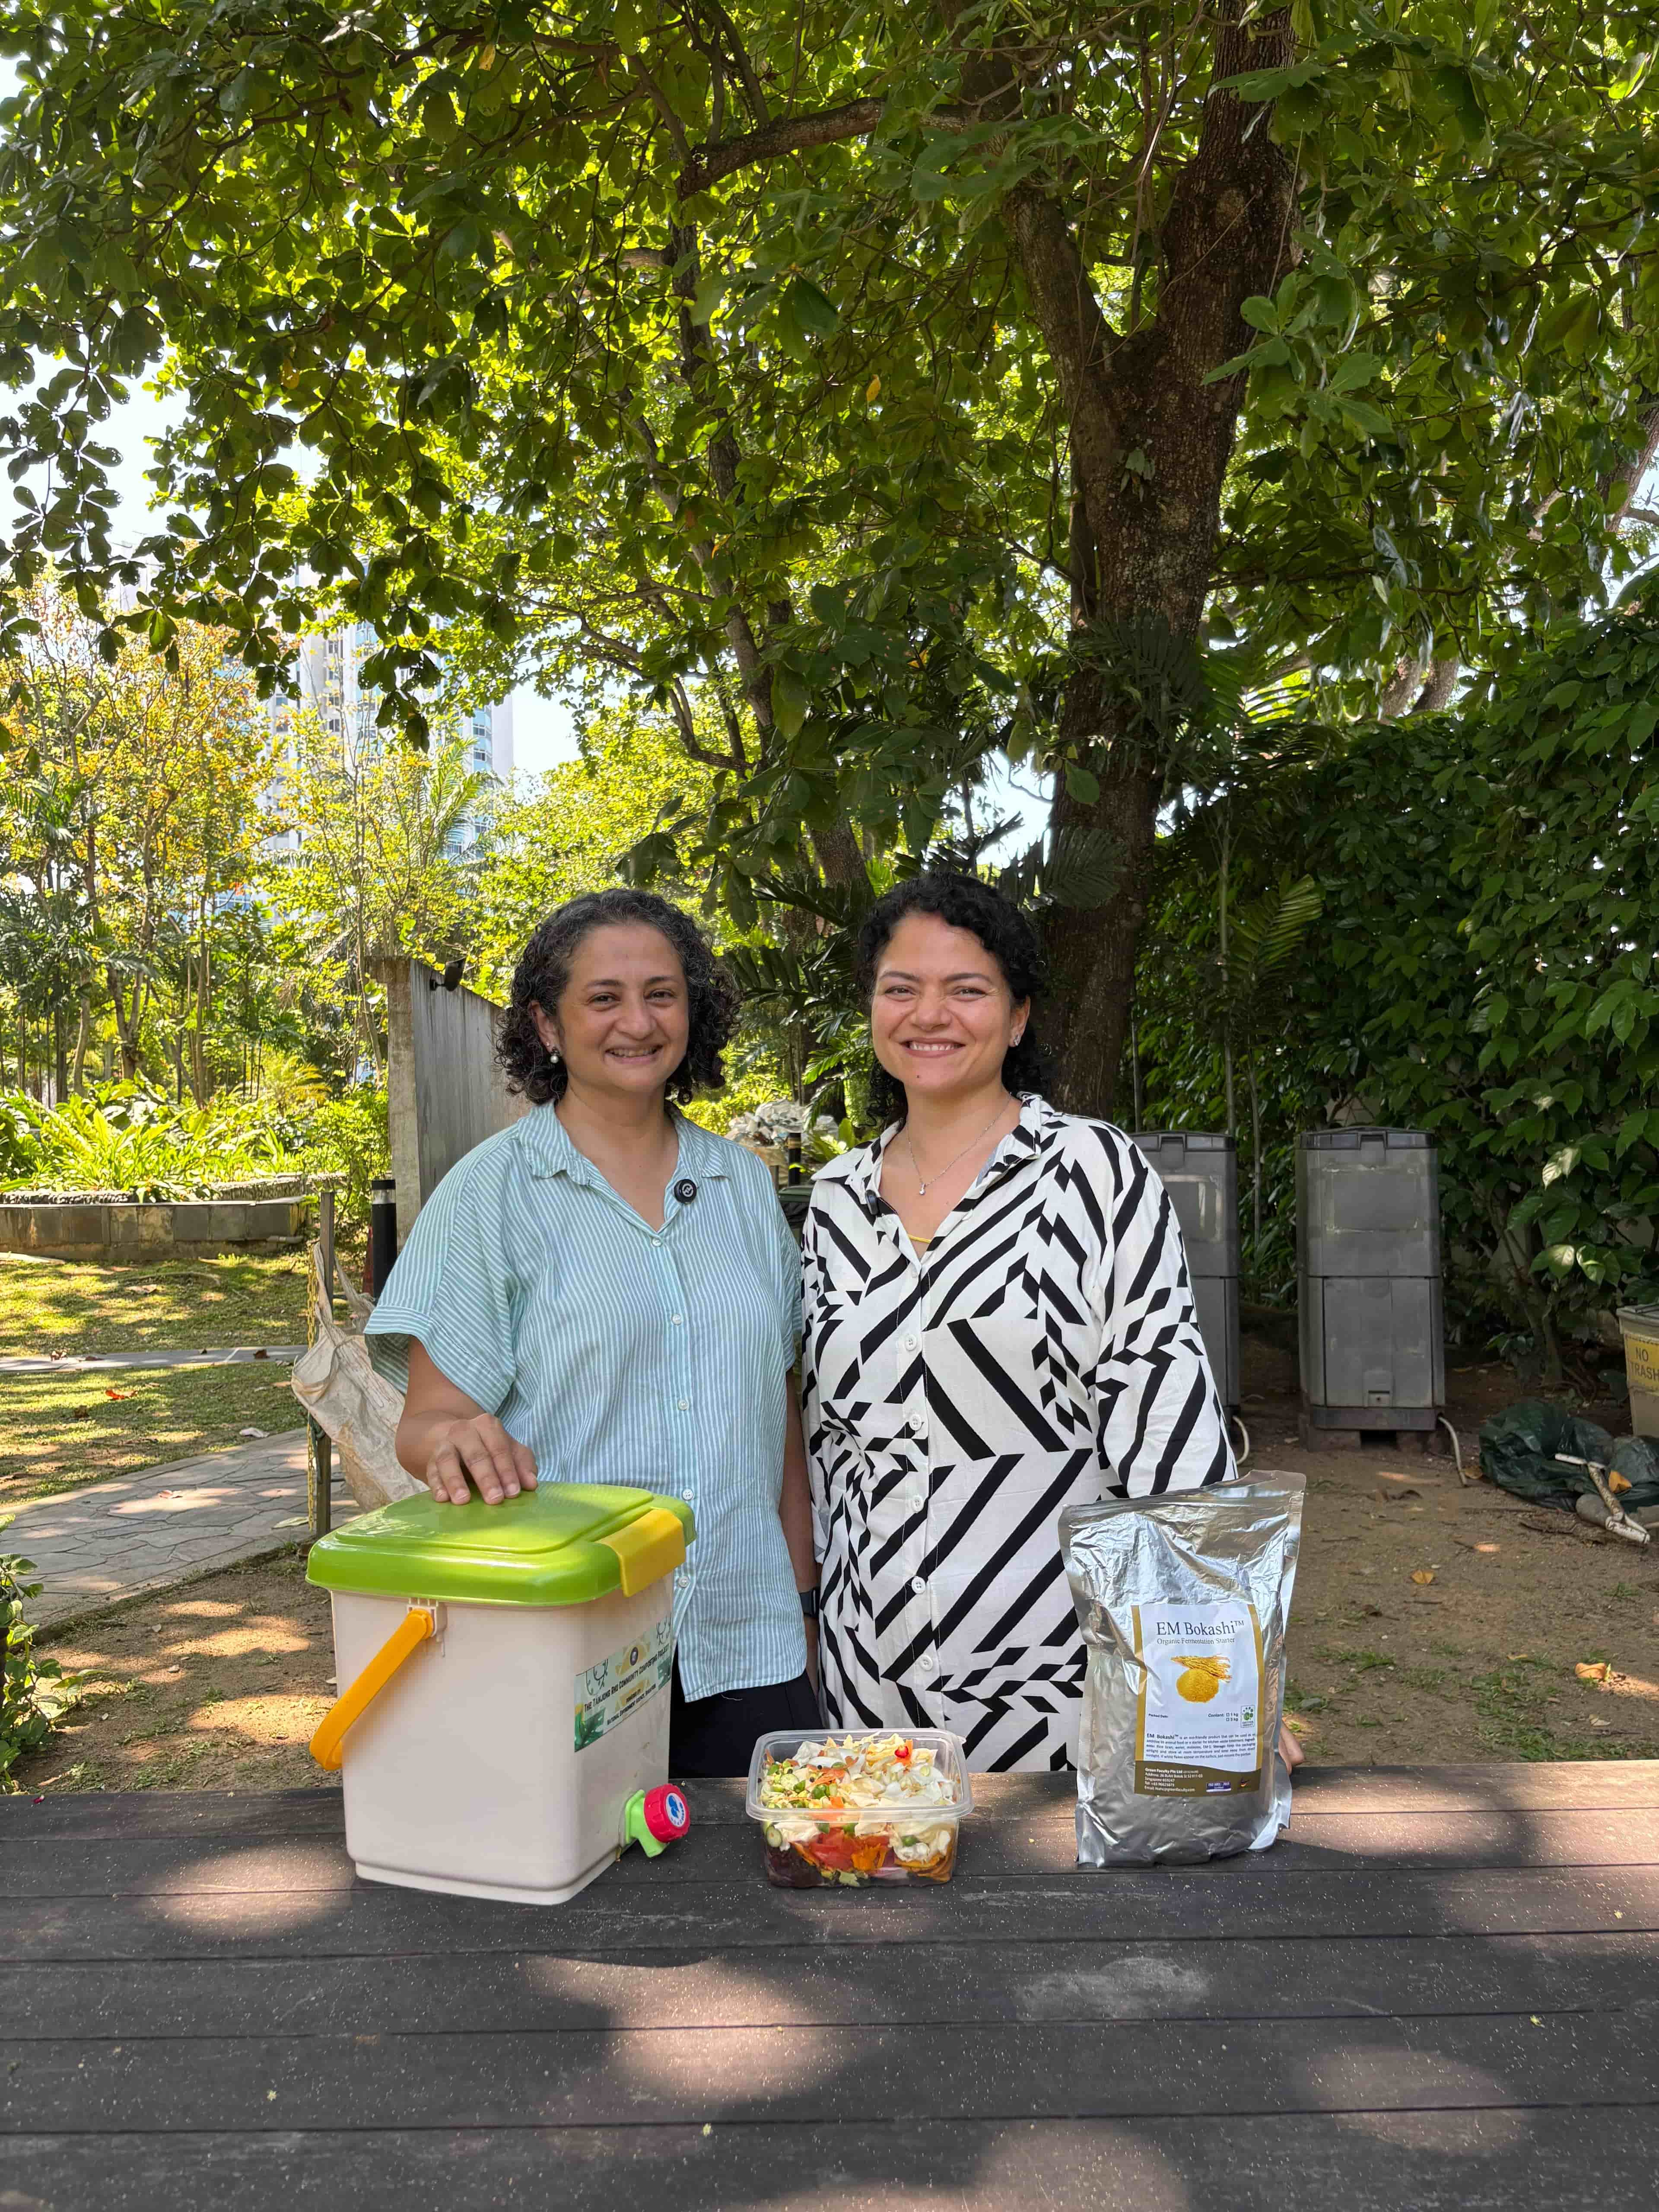
Everything you need to turn your food waste into "Black Gold."
Click the links below to watch our step-by-step tutorials on YouTube.
Need a Top-Up? > Don't let the fermentation stop! Get your supplies delivered to your door.
Buy Bokashi & Bran Kit – The essentials to keep your cycle going.
Bokashi Composting Essentials – Replacement taps, filters, and accessories.
Quick tips to ensure a healthy, smell-free fermentation.
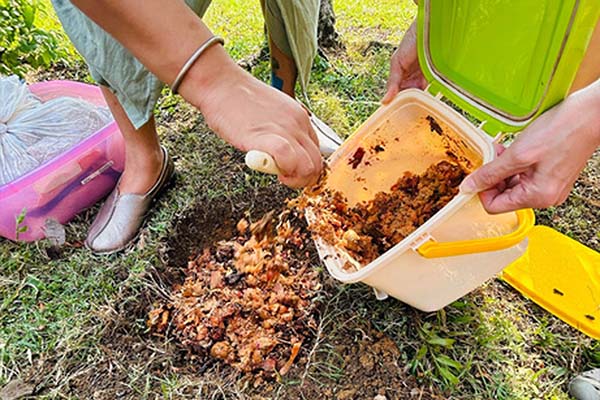
Press it down: Always compress the waste to remove air pockets (Bokashi is anaerobic!).
Drain the tea: Collect the "Bokashi tea" every 2-3 days to prevent odors.
Keep it sealed: Ensure the lid is airtight after every addition.
Add enough bran: Use a generous sprinkle for every layer of food waste.
No "Green" Mold: While white fuzzy mold is great, green or black mold means it's rotting (usually due to air or lack of bran).
No Large Bones: Small fish bones are okay; large beef or pork bones take too long to break down.
No Excessive Liquids: Avoid pouring soup or milk into the bucket.
No Direct Sunlight: Keep your bucket in a cool, shaded area.
If your bucket isn't behaving or you have questions about the "tea," we are here to help!
© 2026 Rejuvrth-The Urban Green Connect.